In Cadasio, however, you are not limited by paper size or static layouts. Because your projects are shared interactively in 3D, there are several powerful ways to approach detail views, depending on the experience you want to create.
This guide walks through the different methods available and explains when each approach makes the most sense.
Rethinking detail views in a 3D workflow
In 2D documentation, detail views are essential because space is limited. In an interactive 3D environment, you often do not need to compress information into a small callout.
Instead of creating a traditional detail view, you may choose to guide the viewer to a dedicated step that is already zoomed in on the area of interest. This keeps the experience immersive and allows the viewer to see the detail in full context.
Using zoomed-in steps as detail views
One of the simplest approaches is to replace a traditional detail view with a zoomed-in step.
You can create a step that focuses closely on the required area and include it as part of the normal project flow, so clicking Next naturally takes the viewer to that view. For a more interactive experience, you can also add an on-click link to a 2D or 3D object that jumps directly to the zoomed step.
This method works particularly well when the detail is part of a process or sequence.
Creating traditional detail views with the Detail View tool
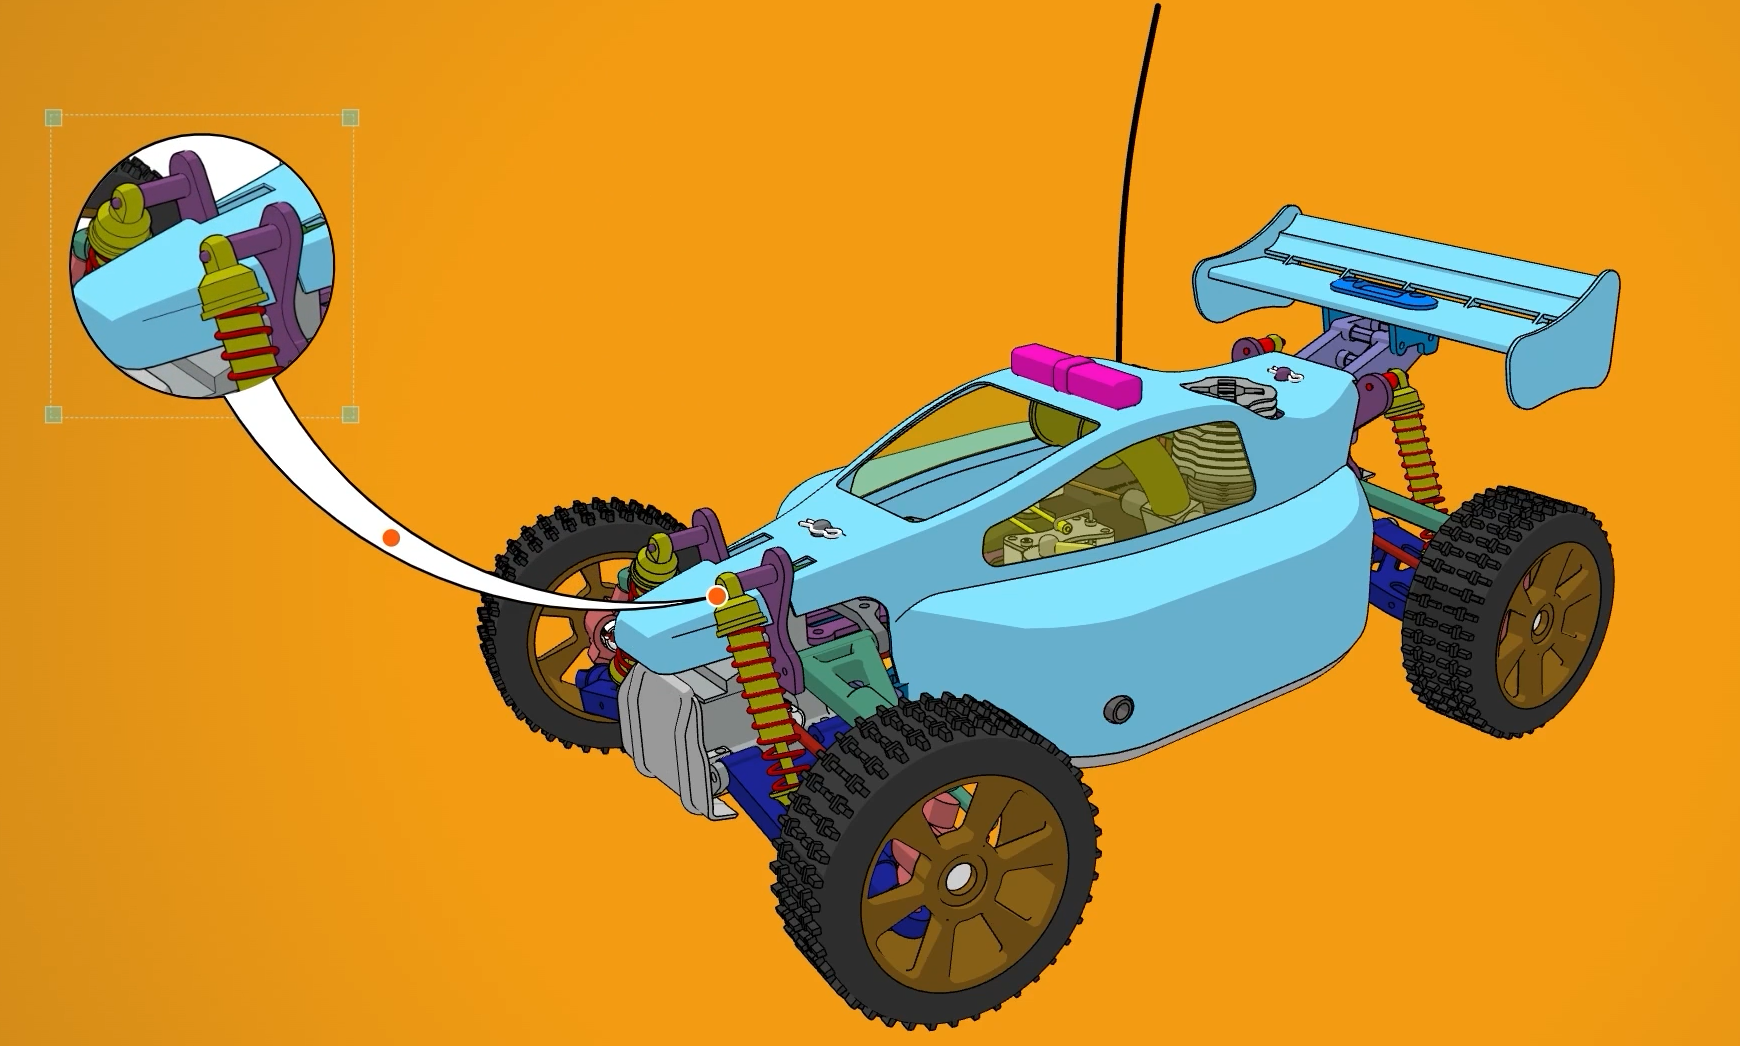
If you prefer a more conventional approach, Cadasio includes a dedicated Detail View tool in the Toolbox.
When activated, you can place a circular boundary over the area you want to capture. Cadasio will capture any visible 3D items within that circle.
By default, the detail view uses the same render style as your current view, but you can change this before capturing the image. Once confirmed, the detail view is created and behaves like any other image, meaning it can be resized, repositioned, and edited as needed.
Capturing selected items only
A useful tip is to pre-select specific items before creating the detail view. After the detail view is created, right-click on it and choose to capture only the selected items.
This can save time and often results in cleaner visuals, especially in complex assemblies.
Using step images as detail views
Another flexible method is to use images instead of captured detail views.
You can upload your own images, reuse existing step images, or create new ones specifically for use as detail views.
For example, you might isolate components, explode an assembly, add markup, and then save those changes as a new step. You can then return to the original step where the detail view is needed, insert a picture, open your assets, switch the library to Projects, and select the step image.
This approach has a key advantage. If you later update the step, the image used as the detail view updates automatically.
Controlling navigation and interactivity
If you do not want a detail step to appear in the main project flow, you can set that step to Hidden or adjust navigation so viewers cannot reach it accidentally.
You can also add interactivity by assigning an on-click link to the image. This allows viewers to click the detail view image and jump directly to the associated step, creating a seamless interactive experience.
Creating images without adding steps

You can also generate images without creating a new step at all.
The button in the bottom-left of the interface normally saves a quick image, but you can choose to save the image directly to your assets instead. Once saved, it can be inserted as a picture just like any other image and used as a detail view.
Choosing the right detail view method
Cadasio gives you multiple ways to create detail views, from immersive 3D steps to traditional callouts and dynamic images. The best approach depends on how interactive you want the experience to be and how the detail fits into your overall project flow.
By choosing the right method for each situation, you can create clearer, more engaging presentations that communicate detail without unnecessary complexity.